Источник:
https://www.powerobjects.com/2018/08...custom-action/
==============

In a previous blog, you learned
how to create a Word template in Microsoft Dynamics 365, but what if you want to automatically generate a Word Template through a Workflow without any code? Microsoft Dynamics 365 has the ability to easily generate a Word Template through Actions.
The steps are to create a Word template, create a workflow, and call the SetWordTemplate built in Actions to build a template on the fly. The template is generated and populated as a note on the entity where the workflow was created.
The following example will use Quotes to build a Quote Word Template and attach the template as a note to the appropriate Quote.
How to Create a Microsoft Word Template
1. Navigate to
Quotes.
2. Select
Excel Templates from the Command Bar >
Create Excel Template.

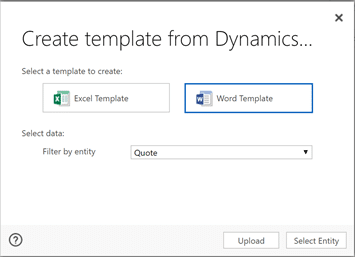
3. Select
Word Template.
4. Select the
Quote Entity and click
Select Entity.
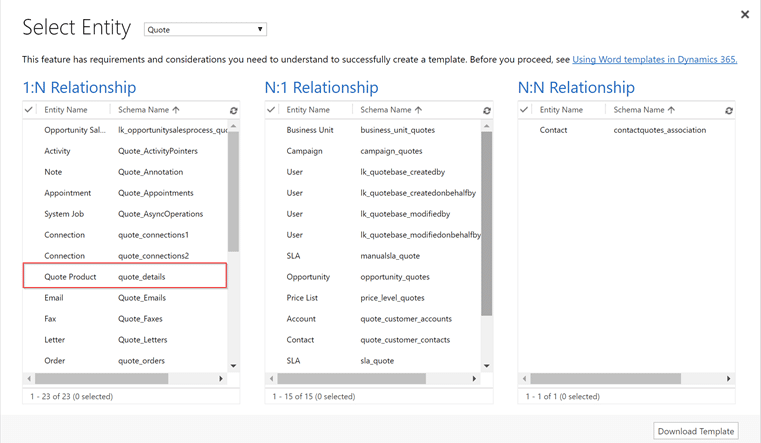
5. Select any related entities that you will use to include additional data points. Under 1:N relationship select
Quote Products and click
Download Template.
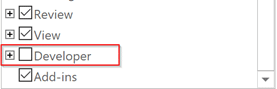
6. In the word document, add the developer tab. If the developer tab is missing, right-click the ribbon and select
Customize the Ribbon and add the Developer tab.
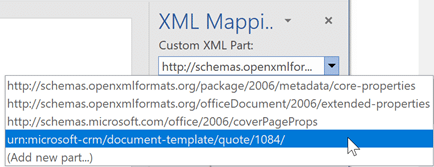
7. From the Developer tab, select the
XML Mapping Pane.
8. Under
Custom XML Part:, select “urn:Microsoft-crm/document-template/quote/1084/”
9. In the template, you can insert fields by clicking on the location in the template where you want the field inserted. Then in the XML Mapping section, right-click the field, select
Insert Content Control, and select
Plain Text.

10. For repeating sections (Quote Products for a Quote) you need to insert a repeating section. To insert a repeating section do the following:
- Select the row.
- Right-click Quote_details.
- Select Insert Content Control, and then select Repeating.
Note: When added a repeating section the many records added to the section will add the active AND inactive records to the grid.

11. Save the Word Template.
12. Insert the Word Template as a System Template as the templates that can be selected from a workflow to be used by the entire company
must be a system template.
13. In Dynamics 365 go to
Settings >
Templates >
Document Templates.
14. Select
Upload Template.
15. Select the Word Template file and click
Upload.
16. Test the template by opening a Quote. Select the Ellipsis > Word Templates and the select the template uploaded in the previous step.
How to Create the Workflow and Action Step
1. Go to
Settings >
Processes.
2. Click
New and provide the following details for the new workflow process:
- Category = Workflow
- Entity = Quote
Important Note: The entity selected in the Workflow must match the entity selected for the template.

3. Update Scope to Organization so the workflow will be run by all users in the system.
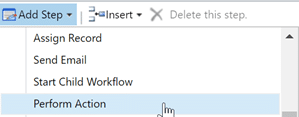
4. Click
Add Step and select
Perform Action.
5. Under Action select
SetWordTemplate and set the Entity to “(None (global))”

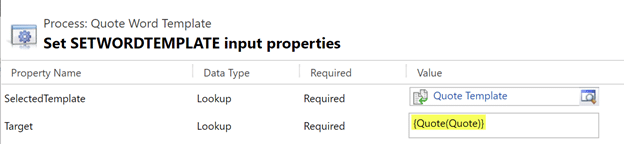
6. Select
Set Properties.

7. Set the Quote Template created above to the “SelectedTemplate” property.
8. Set Target to the entity record you want the template to be attached to.
9. Activate the Process.
10. Update the quote according to the workflow to kick off the workflow.
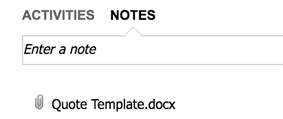
11. On the Quote record go to
Notes and the newly created Quote Template record will be attached to the Quote as a Note record. The name of the file will be stored as the name of the template.
There you have it! For more Dynamics 365 tips and tricks, be sure to
subscribe to our blog!
Happy Dynamics 365’ing!
Источник:
https://www.powerobjects.com/2018/08...custom-action/